Growing Fodder for Rabbits

|
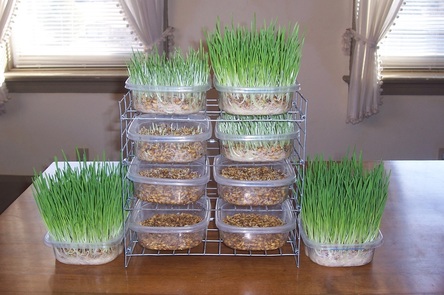
Would you like to cut your feed bill and increase the health of your rabbits? Yes? Then start growing fodder! Fodder is sprouted grain, usually barley or wheat, fed at the peak of nutrition. It is highly digestible and is devoured by livestock roots and all. With a continuous fodder system, you can produce a fresh tray of fodder every day in just a few minutes. |
Fodder Schedule
Fodder grows best at 60-70 degrees F. If grown too warm, you will have problems with mold. It will be grassier with a smaller root mat. If grown too cool, you will experience poor germination, mold, and slow growth. We grow our fodder at 65 degrees.
Here’s the schedule we use:
Morning (8:00am):
– Water trays in rack & drain excess water
– Add measured grain & water to jar
– Clean new seed & soak for 12 hours
Mid-Day (2:00pm): *optional*
– Water younger trays & drain (days 1-5)
Evening (8:00pm):
– Water trays in rack & drain excess water
– Remove oldest fodder from tray to feed to rabbits
– Pour soaked seed into clean tray
TIP: To reduce watering, set lids on young trays, but don’t seal them. Covers trap the humidity so the seeds don’t dry out as fast.
Basic Fodder Instructions
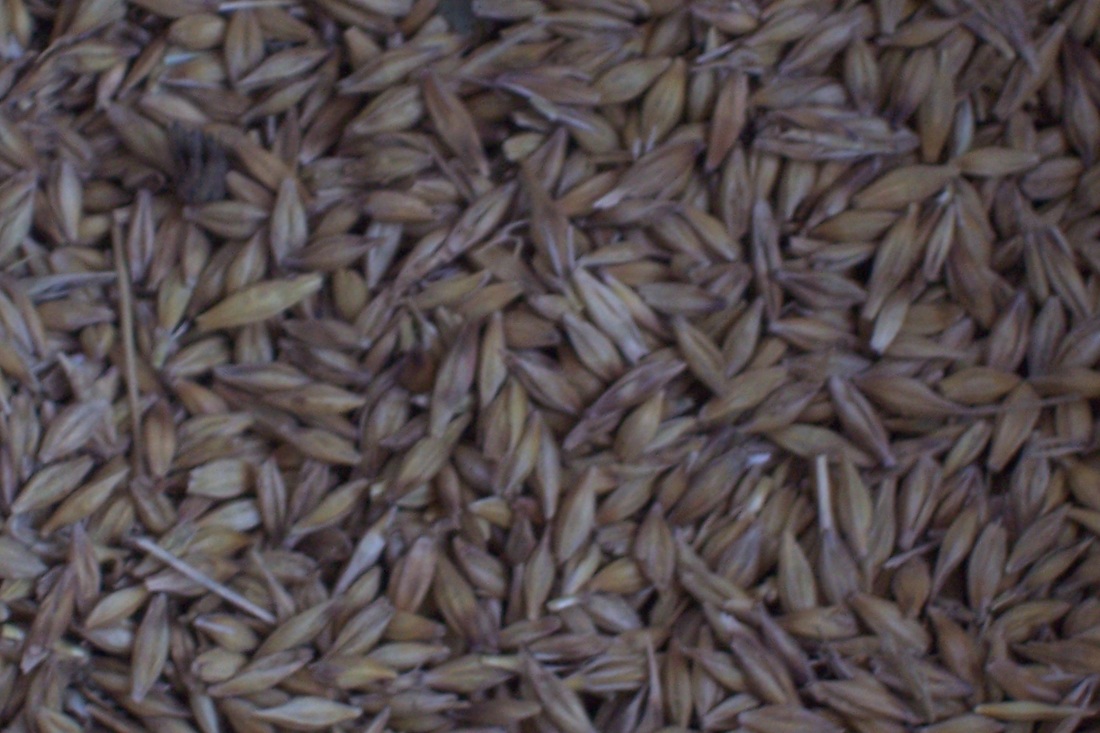
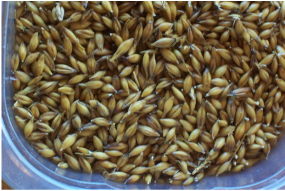
Step 1: Buy your grain. Barley & wheat are preferred. Barley grows faster than wheat and gets a better root mat. Look for fresh grain with the chaff removed that has not been heated. Field-run & feed grain can be used, but they require cleaning. Feed-grade barley is pictured above. It still has the chaff on. We bought a 50# bag for $8. Cleaned barley costs about $20 for 50#. Check local feed mills for availability.
|
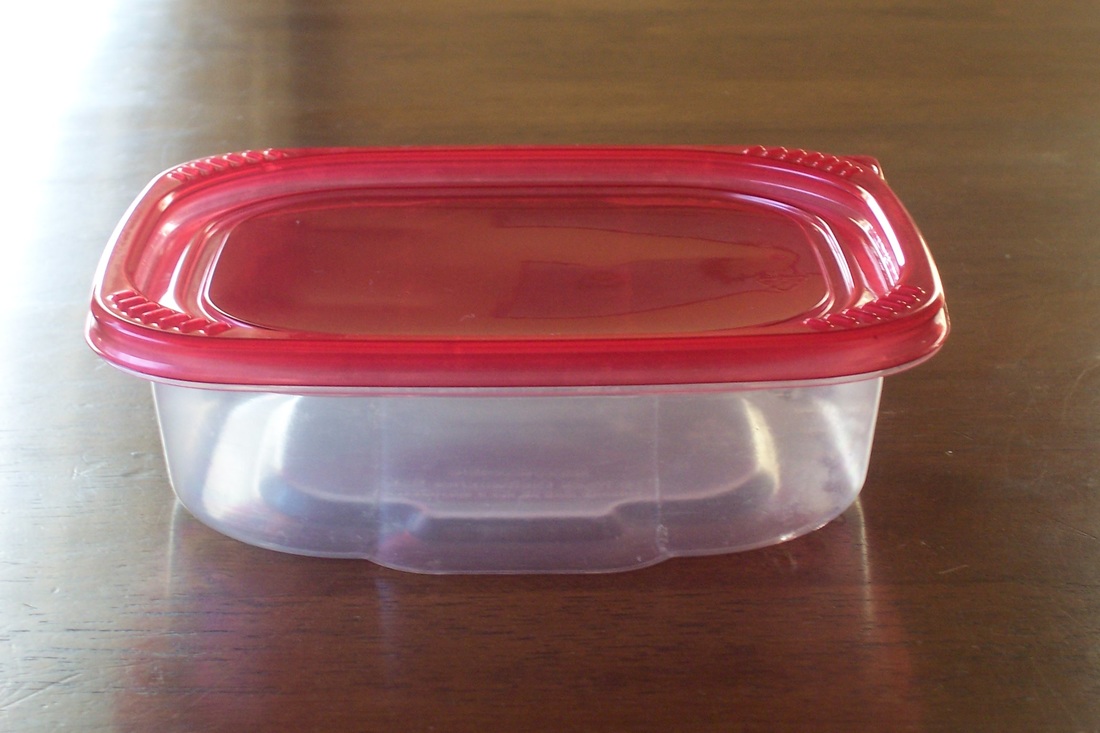
Step 2: Get some trays to use. We designed a mini fodder rack that fits the reusable containers that lunch meat comes in. Wide shallow trays work best. The containers can be clear or solid. Dark trays encourage root growth. You will need 10-12 identical trays. Click for instructions to build your own Mini Fodder Rack.
|
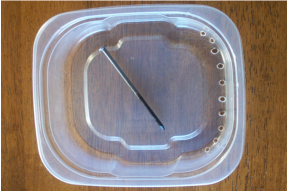
Step 3: Punch drainage holes in your trays with a hot nail. Hold the tip in a flame until hot and melt holes in the tray. Space holes along one side or around the base. We prefer to have them on the side so the tray can be tipped to drain fully. Don’t go crazy and punch too many holes. You want the trays to fill with water, then drain slowly so the seeds get a good soaking.
|

Step 4: Fill a tray with dry grain 1/3″-1/2″ deep. Measure the amount of grain then pour into a pint jar. This is the portion that you will soak daily. If you are using grain with the chaff on, add a little extra since some will be removed in the next step.
|
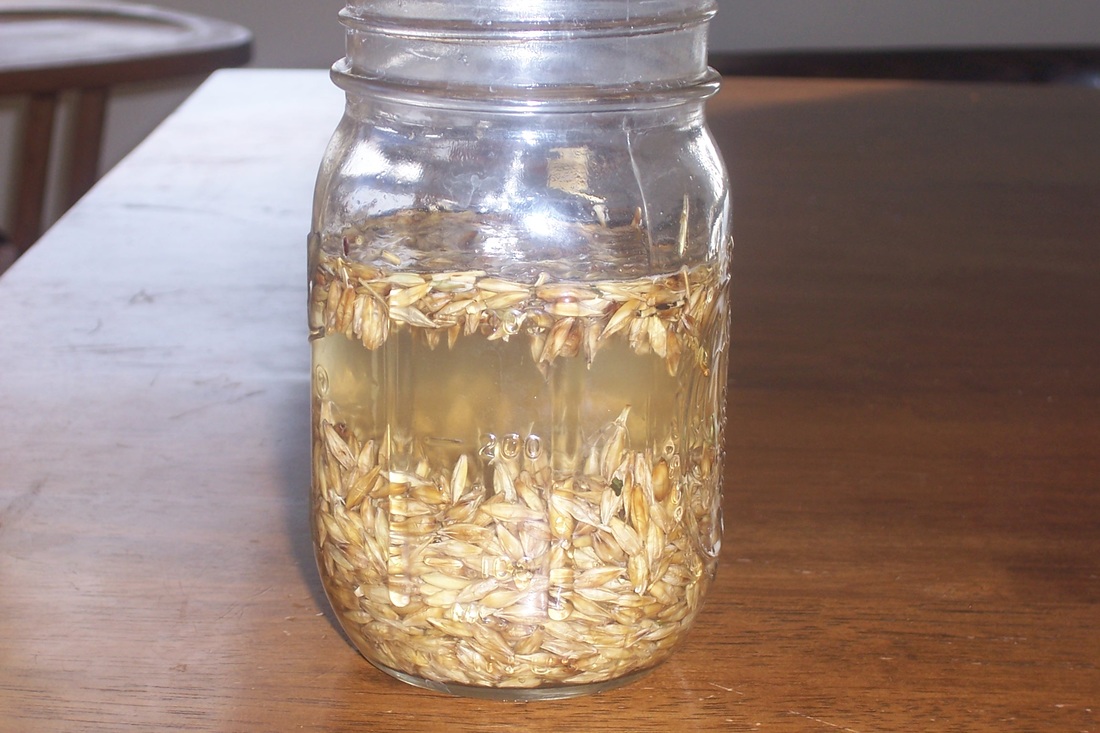
Step 5: Cover the seed with water and swirl around to wet the seeds. Set the jar down, you will notice a layer of floaters. Immature seeds, chaff, and debris will float to the top. These need to be removed before sprouting or they will decompose as the fodder grows. If you have lots of floaters, let it soak a bit first to release trapped air bubbles.
|
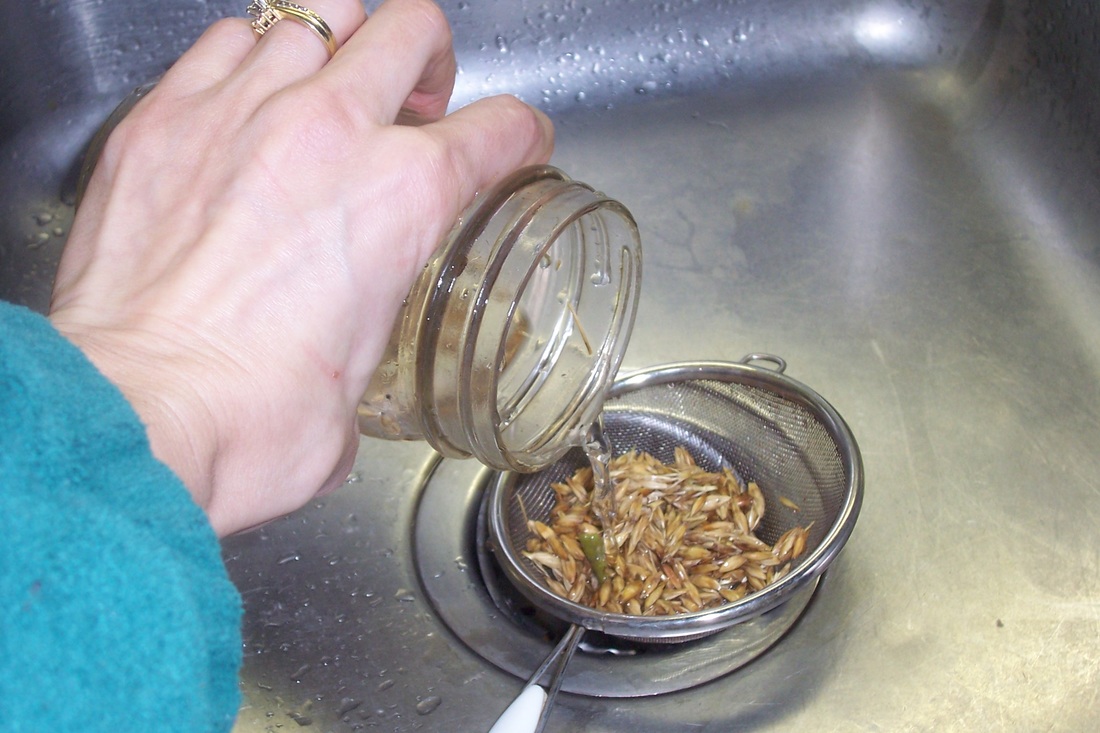
Step 6: Clean the seeds by pouring off the floaters. Stop before you dump out the good grain. We use a small strainer to catch the refuse. Refill the jar with water, swish, and repeat 4-5 times to remove all of the chaff. The bits that were strained off can be fed to chickens or pigs or composted. Cover cleaned grain with 1-2″ of water.
|
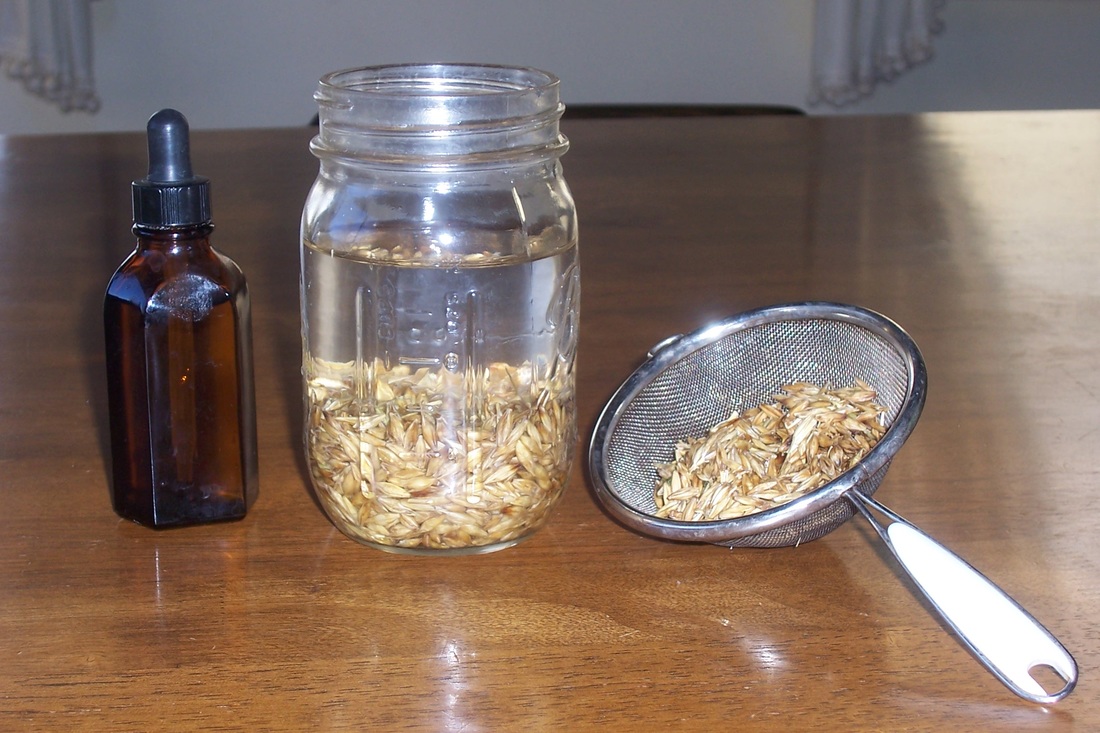
Step 7: Add 6-7 drops of bleach to the jar. Swirl to mix. Bleach kills mold and fungus spores without affecting sprouting. This step is important, if you are concerned about using bleach click here. The grain is now clean and needs to soak for 8-12 hours. Longer soak times may ferment some of the grain, resulting in lower germination rates.
|
Step 8: Pour the soaked grain into a tray. Shake to level, then drain the water. Avoid touching or disturbing the seeds. Slide the tray into the fodder rack with the drainage holes to the back. You can place a lid loosely in the tray for the first few days to increase humidity. Remove lids for watering and once shoots appear.
|
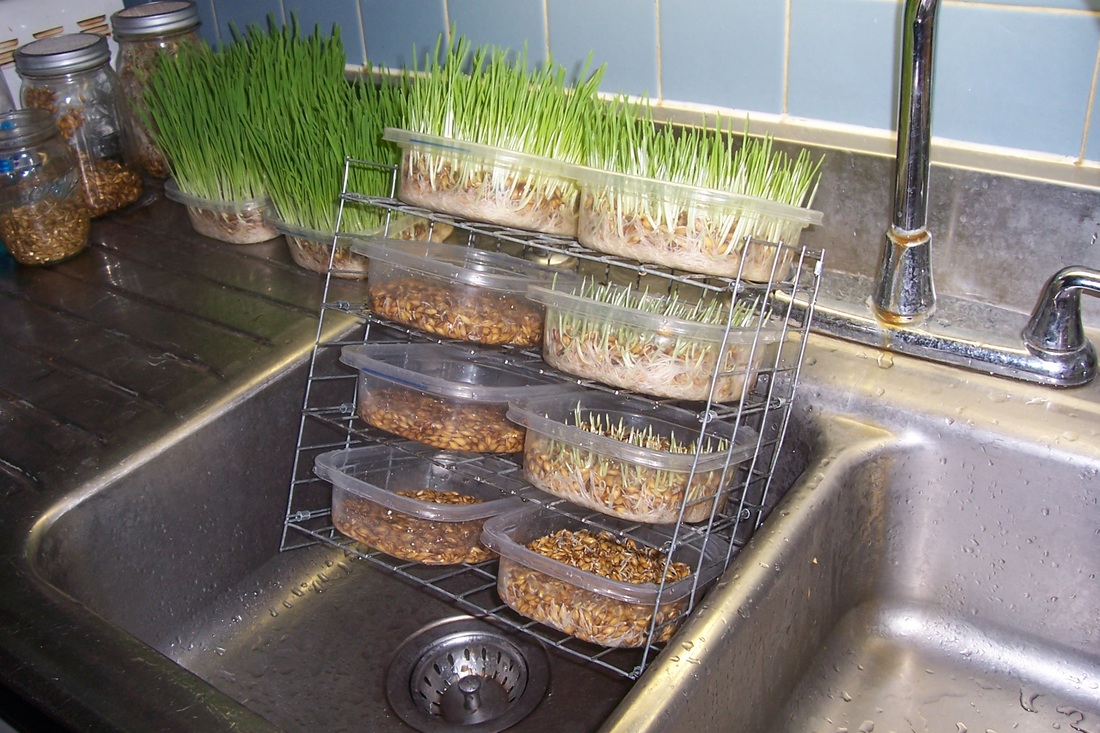
Step 9: Water the trays twice a day. You can water younger trays 3x/day to improve germination (or use lids). Place the fodder rack in the sink. Fill the top trays with water and allow it to drip into the trays below. Once the water has dripped through, tip the rack back to drain any excess water. Keep the roots moist, not water-logged.
|
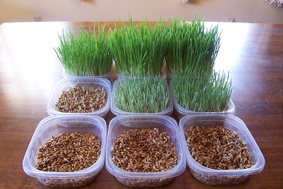
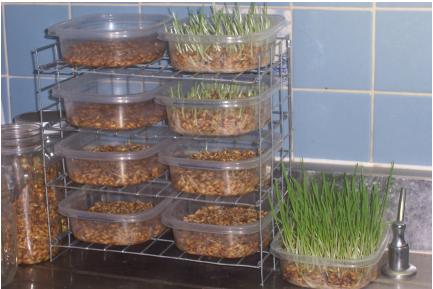
Step 10: Repeat steps 5-8 daily until you have 9-10 trays sprouting in succession. They youngest tray will be soaked grain (day 0) and the oldest tray will be lush grass with a nice root mat (day 8-10). The younger trays can sit on a rack. Place the older trays on a sunny windowsill or under a fluorescent light to green up.
|
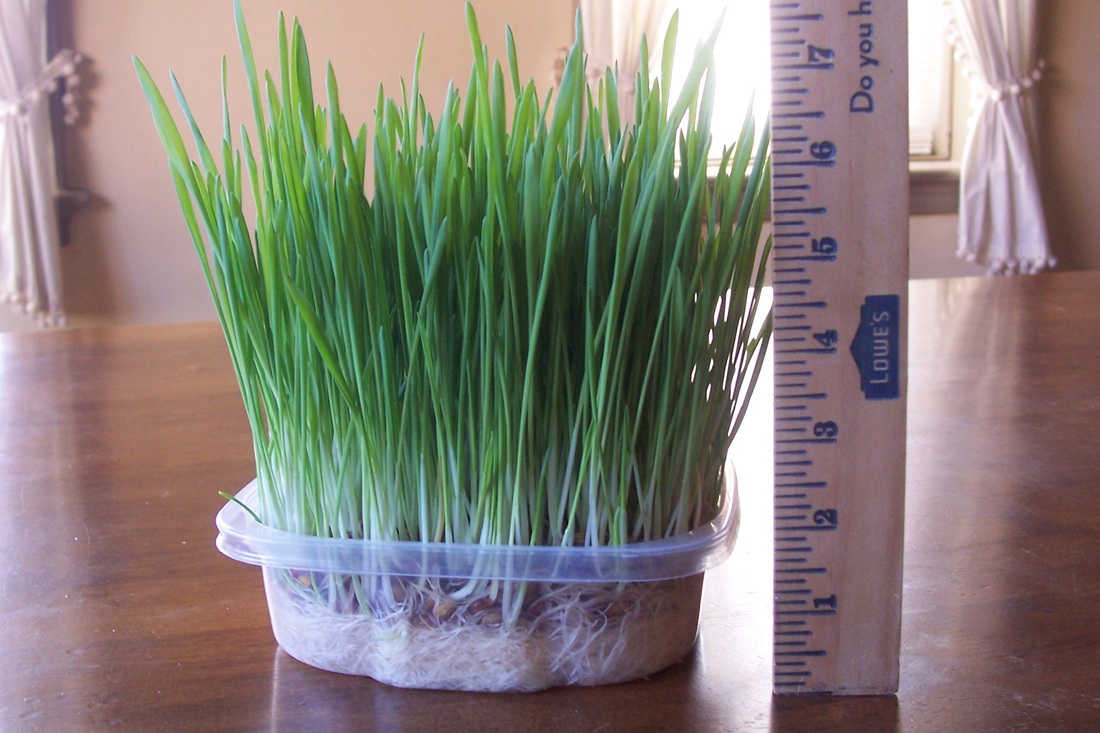
Step 11: Inspect your fodder. A healthy fodder mat has a tight mat of white roots, lush green growth, and a clean seed bed. The roots smell faintly of cucumbers, especially when cut. If it is moldy or smells bad, do not feed it to your animals. Growing fodder takes a bit of trial-and-error, but before long you will be growing it like a pro!
|
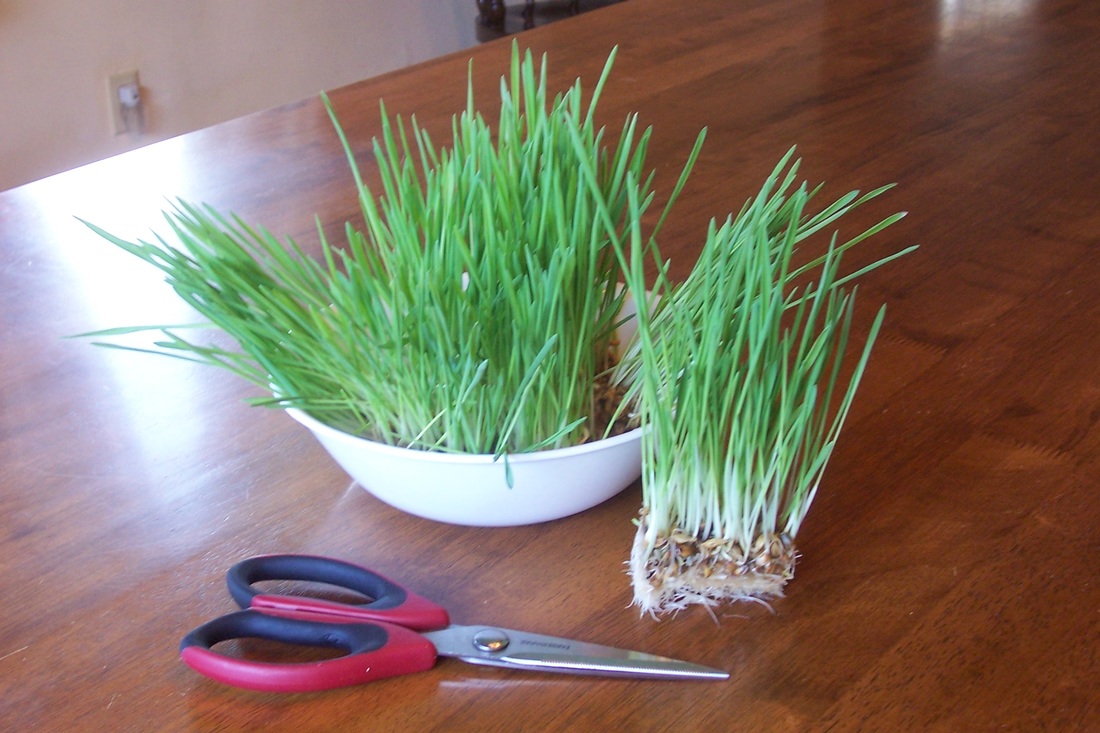
Step 12: Harvest the oldest tray each day. Remove the mat from the tray and cut into serving size pieces with scissors or kitchen shears. Feed the whole chunk. Some rabbits eat it roots and all while others just munch the grass. Remember to introduce any new foods gradually to avoid digestive upset. Remove any uneaten root mats daily.
|
This article was originally published on https://bharabbitry.weebly.com/growing-fodder.html